
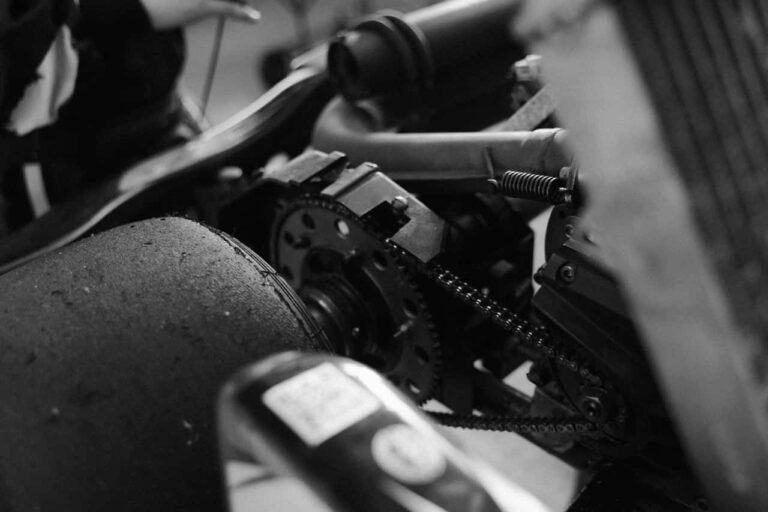
The starter motor is an essential part of your vehicle’s starting system. Every time you turn the ignition key or press the start button, the starter motor engages the engine’s flywheel to crank the engine. Without a functioning starter motor, your vehicle will not start, even if the battery is fully charged. Learning how to replace a starter motor can help you save on repair costs and get your vehicle back on the road quickly.
Although replacing a starter motor may require working underneath the vehicle, it is a task many DIY mechanics can complete with the proper tools and careful preparation. This guide explains the replacement process step by step while highlighting important safety precautions.
Why the Starter Motor Is Important
The starter motor converts electrical energy from the battery into mechanical energy that turns the engine over during startup. Once the engine begins running, the starter disengages automatically.
A healthy starter motor ensures reliable engine starts in all weather conditions. When it begins to fail, starting your vehicle can become difficult or impossible.
Replacing a faulty starter promptly helps prevent unexpected breakdowns and protects other components in the starting system.
Signs Your Starter Motor Needs Replacement
Several symptoms may indicate a failing starter motor. Common warning signs include:
- Clicking sound when turning the key
- Engine fails to crank
- Starter motor spins without engaging the engine
- Intermittent starting problems
- Grinding noise during startup
- Smoke or burning smell from the starter area
- Dashboard lights work, but the engine does not start
Before replacing the starter, verify that the battery and charging system are operating correctly.
Tools You Will Need
Gather the following tools before beginning the replacement:
- Replacement starter motor
- Socket and ratchet set
- Combination wrenches
- Torque wrench
- Jack and jack stands or vehicle ramps
- Protective gloves
- Safety glasses
- Flashlight
- Vehicle owner’s manual
Always purchase a starter motor designed specifically for your vehicle’s make, model, year, and engine configuration.
Step 1: Park the Vehicle Safely
Park your vehicle on a flat, stable surface.
Engage the parking brake and place wheel chocks behind the tires if available.
Allow the engine to cool before beginning any work.
Disconnect the negative battery terminal to eliminate the risk of electrical shock or accidental short circuits.
Step 2: Raise the Vehicle if Necessary
Many starter motors are mounted low on the engine near the transmission bell housing.
If additional access is needed, raise the front of the vehicle using a hydraulic jack and support it securely with jack stands.
Never rely solely on a hydraulic jack while working underneath the vehicle.
Ensure the vehicle is stable before continuing.
Also Read: How to replace an air Filter
Step 3: Locate the Starter Motor
Locate the starter motor near the transmission where it engages the engine’s flywheel or flexplate.
The starter is usually a cylindrical component with an attached solenoid and several electrical connections.
Consult your owner’s manual or repair guide if you have difficulty locating it.
Step 4: Disconnect the Electrical Connections
Carefully inspect the wiring connected to the starter motor.
Remove the protective cover from the main battery cable if equipped.
Use the appropriate wrench to disconnect the battery cable and smaller control wire from the starter solenoid.
Keep track of all nuts, bolts, and washers for reinstallation.
Inspect the wiring for corrosion or damage while it is disconnected.
Step 5: Remove the Starter Motor
Locate the mounting bolts securing the starter to the engine or transmission housing.
Support the starter with one hand while removing the bolts using the appropriate socket.
Once all mounting bolts are removed, carefully lower the starter motor from the vehicle.
Compare the old starter with the replacement unit to ensure the mounting holes, gear, and electrical terminals match exactly.
Step 6: Install the New Starter Motor
Position the new starter motor in place.
Install the mounting bolts by hand first to avoid cross-threading.
Once properly aligned, tighten the mounting bolts using a torque wrench according to the manufacturer’s specifications.
Proper installation ensures correct alignment with the flywheel and prevents unnecessary wear.
Step 7: Reconnect the Electrical Wiring
Reconnect the main battery cable to the starter solenoid.
Attach the smaller control wire to its correct terminal.
Tighten all electrical connections securely without overtightening.
Replace any protective covers removed during disassembly.
Inspect the wiring to confirm it is routed away from moving engine parts and hot exhaust components.
Step 8: Lower the Vehicle and Reconnect the Battery
If the vehicle was raised, carefully remove the jack stands and lower it back to the ground.
Reconnect the negative battery terminal and tighten it securely.
Inspect the engine compartment and underneath the vehicle to ensure no tools or loose parts remain.
Test the New Starter Motor
Turn the ignition key or press the start button.
The engine should crank smoothly and start without unusual noises.
Listen for grinding, clicking, or delayed engagement during startup.
If the engine starts normally, allow it to idle for several minutes while checking for any loose wiring or abnormal sounds.
Take the vehicle for a short drive and verify consistent starting after shutting the engine off and restarting it.
How Often Should a Starter Motor Be Replaced?
Starter motors typically last between 100,000 and 150,000 miles, although lifespan varies depending on driving habits and vehicle conditions.
Frequent short trips, weak batteries, and repeated starting attempts can shorten starter life.
Regular battery maintenance and prompt repair of electrical issues help extend the life of the starter motor.
Common Mistakes to Avoid
Never work on the starter without disconnecting the battery.
Avoid installing an incorrect replacement starter.
Do not overtighten electrical terminals or mounting bolts.
Ensure all wiring connections are secure before starting the engine.
Ignoring unusual starting noises after installation may indicate flywheel or electrical problems that require further inspection.
Conclusion
Learning how to replace a starter motor is a valuable automotive maintenance skill that can save money and restore reliable engine starting. With the proper tools, careful preparation, and attention to safety, many vehicle owners can successfully replace a faulty starter at home.
Routine inspections of the battery, charging system, and electrical connections can help prevent premature starter failure. By following this step-by-step guide and replacing a worn starter motor promptly, you can ensure dependable vehicle starts and avoid unexpected roadside breakdowns.
