
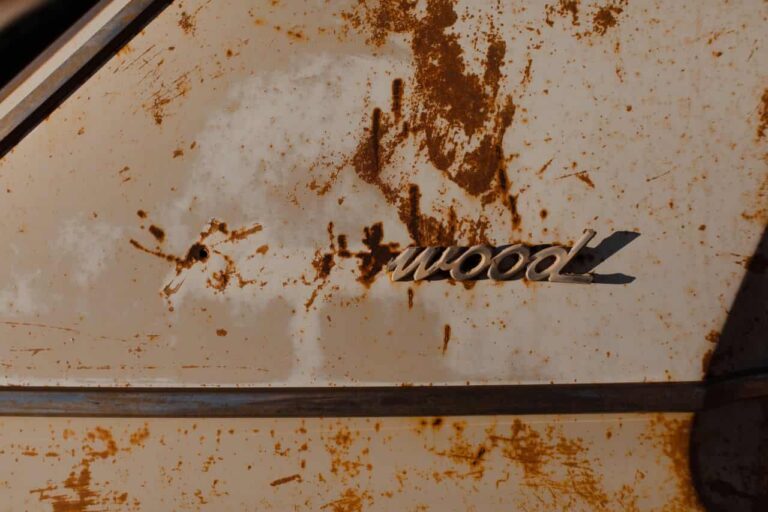
Rust is one of the biggest threats to a vehicle’s appearance and structural integrity. Left untreated, even a small rust spot can spread beneath the paint, weakening metal panels and leading to costly repairs. Fortunately, minor surface rust can often be repaired at home with the right tools, materials, and preparation.
This guide explains how to perform DIY rust repair on a car body, when it’s appropriate to handle the repair yourself, and how to protect your vehicle from future corrosion.
What Causes Rust on a Car Body?
Rust develops when exposed metal reacts with oxygen and moisture over time. The process accelerates in areas where the paint has been chipped, scratched, or damaged, allowing water and road contaminants to reach the bare metal.
Common causes of rust include:
- Stone chips on painted surfaces
- Road salt during winter driving
- High humidity and frequent rain
- Poor drainage around body panels
- Neglected scratches and dents
- Damaged protective coatings
Addressing rust early prevents it from spreading and reduces repair costs.
When Is DIY Rust Repair a Good Option?
DIY rust repair is best suited for small areas of surface rust where the metal remains solid and undamaged. These repairs typically involve removing corrosion, sealing the bare metal, and restoring the paint finish.
You can usually repair rust yourself if:
- The rust is limited to the surface.
- There are no holes in the metal.
- The affected area is relatively small.
- The surrounding paint is still intact.
- The panel has not suffered severe corrosion.
If rust has eaten through the metal or affected structural components, professional repair or panel replacement is generally the safer option.
Tools and Materials You’ll Need
Gather all supplies before beginning the repair.
Essential materials include:
- Safety glasses
- Protective gloves
- Dust mask or respirator
- Wire brush
- Sandpaper in multiple grits
- Sanding block
- Rust remover or rust converter
- Body filler (if necessary)
- Automotive primer
- Matching touch-up paint
- Clear coat
- Wax and grease remover
- Microfiber cloths
- Painter’s tape and masking paper
Using automotive-grade materials produces better results and improves the longevity of the repair.
Also Read: Best Tire Brands for Long Lasting Performance
Step 1: Clean the Area
Wash the damaged section thoroughly with automotive soap and water to remove dirt, grease, and road grime.
After drying, wipe the surface with wax and grease remover to eliminate contaminants that may interfere with adhesion.
A clean surface is essential for a successful repair.
Step 2: Remove the Rust
Use a wire brush to loosen visible rust before sanding the affected area. Begin with coarse sandpaper to remove corrosion down to clean, solid metal.
Continue sanding until all visible rust has been eliminated. Even small traces left behind can continue spreading beneath the new paint.
Feather the edges of the surrounding paint to create a smooth transition for refinishing.
Step 3: Apply Rust Treatment
If tiny areas of corrosion remain in difficult-to-reach locations, apply a rust converter according to the manufacturer’s instructions.
Rust converters chemically stabilize remaining corrosion and create a paintable surface that helps prevent future rust development.
Allow the product to cure completely before moving to the next step.
Step 4: Fill Imperfections
If rust removal leaves shallow pits or uneven areas, apply a thin layer of automotive body filler.
Once cured, sand the filler smooth using progressively finer sandpaper until it blends evenly with the surrounding panel.
Proper sanding helps create a nearly invisible repair after painting.
Step 5: Prime the Surface
Apply several light coats of automotive primer designed for bare metal.
Primer improves paint adhesion, seals the repaired area, and provides additional corrosion protection.
Allow each coat to dry according to the product instructions before applying the next.
Lightly sand the final primer coat if necessary to achieve a smooth finish.
Step 6: Paint the Repaired Area
Apply matching automotive paint using several thin coats rather than one heavy application.
Allow adequate drying time between coats to minimize runs and improve coverage.
Carefully blend the new paint into the surrounding finish for a more seamless appearance.
Patience during this step produces the best cosmetic results.
Step 7: Apply Clear Coat
Once the color coat has dried, apply two or three coats of automotive clear coat.
Clear coat protects the paint from moisture, sunlight, road debris, and environmental contaminants while restoring gloss.
Allow the repair to cure completely before washing or waxing the vehicle.
Common DIY Rust Repair Mistakes
Avoid these common errors that can shorten the life of the repair:
- Painting over active rust
- Skipping surface preparation
- Applying thick coats of primer or paint
- Ignoring curing times
- Using household paints instead of automotive products
- Failing to seal exposed metal completely
Taking time to prepare the surface properly significantly improves durability.
How to Prevent Rust from Returning
Preventive maintenance plays a major role in protecting your vehicle from future corrosion.
Helpful tips include:
- Wash your vehicle regularly, especially after driving on salted roads.
- Repair paint chips promptly.
- Keep drain holes clear.
- Wax the vehicle several times each year.
- Store the vehicle in a dry, well-ventilated area whenever possible.
- Inspect wheel wells and lower body panels for early signs of corrosion.
Routine care can extend the life of your vehicle and reduce future repair expenses.
When to Seek Professional Help
While DIY methods work well for minor surface rust, some situations require professional attention.
Consider professional repair if:
- Rust has created holes in the metal.
- Structural components are affected.
- Large body panels show widespread corrosion.
- The repair involves welded sections.
- Previous rust repairs have failed.
Professional body shops have specialized equipment and replacement panels that can restore severe corrosion safely.
Final Thoughts
DIY rust repair on a car body is an effective way to stop minor corrosion before it becomes a costly problem. By removing rust completely, treating exposed metal, applying quality primer and paint, and following proper preparation techniques, you can restore your vehicle’s appearance while protecting it from further damage. Regular inspections and prompt attention to chips, scratches, and small rust spots will help preserve your car’s finish and extend its lifespan. With patience and the right materials, many surface rust repairs can be completed successfully at home, saving both time and money while keeping your vehicle looking its best.
