
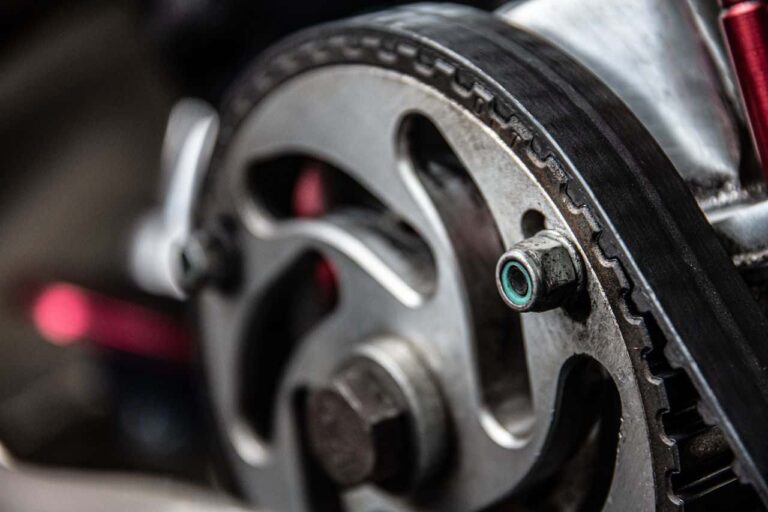
The serpentine belt is a vital component of your vehicle’s engine. It powers essential accessories such as the alternator, power steering pump, air conditioning compressor, and water pump in many vehicles. Over time, the belt wears out due to constant tension, heat, and friction. Learning how to change a serpentine belt can help you avoid unexpected breakdowns and expensive repair bills while keeping your vehicle operating efficiently.
Replacing a serpentine belt is a maintenance task that many vehicle owners can complete with basic tools and careful attention to the belt routing. This guide explains the process step by step to help you replace the belt safely and correctly.
Why the Serpentine Belt Is Important
The serpentine belt transfers engine power to several critical components. Without it, the alternator cannot charge the battery, the power steering system may stop functioning, the air conditioner will not operate, and in many vehicles, the water pump will no longer circulate coolant.
A damaged or broken serpentine belt can quickly leave your vehicle disabled. Regular inspection and timely replacement help prevent sudden failures and ensure reliable engine performance.
Signs Your Serpentine Belt Needs Replacement
Several warning signs indicate that the serpentine belt may be worn or damaged. Common symptoms include:
- Squealing or chirping noises from the engine
- Visible cracks on the belt
- Frayed or damaged belt edges
- Glazed or shiny belt surface
- Power steering becoming difficult
- Battery warning light
- Engine overheating on vehicles where the belt drives the water pump
If you notice any of these symptoms, inspect the serpentine belt immediately.
Tools You Will Need
Before starting the replacement, gather the following tools:
- Replacement serpentine belt
- Serpentine belt tool or breaker bar
- Socket and ratchet set
- Flashlight
- Gloves
- Vehicle owner’s manual
- Camera or notepad to record belt routing
Always purchase the correct replacement belt designed specifically for your vehicle’s make, model, and engine.
Also Read: How to change a Cabin Air Filter
Step 1: Park the Vehicle Safely
Park your vehicle on a level surface and engage the parking brake.
Turn off the engine and allow it to cool completely before working under the hood.
Remove the key from the ignition and disconnect the negative battery terminal if recommended by your vehicle manufacturer.
Step 2: Locate the Serpentine Belt
Open the hood and locate the serpentine belt at the front of the engine.
Most vehicles include a belt routing diagram on a sticker inside the engine compartment.
If no diagram is available, take a clear photo or draw a sketch showing how the belt wraps around each pulley before removing it.
Accurate belt routing is essential for proper operation.
Step 3: Locate the Belt Tensioner
Find the automatic belt tensioner, which keeps constant pressure on the serpentine belt.
The tensioner usually has a square opening or bolt head designed for a breaker bar or serpentine belt tool.
Consult your owner’s manual if you have difficulty identifying the tensioner.
Step 4: Release Belt Tension
Place the serpentine belt tool or breaker bar onto the tensioner.
Rotate the tensioner in the direction required to relieve belt tension.
While holding the tensioner in position, carefully slide the belt off one of the pulleys.
Slowly release the tensioner back to its resting position.
Avoid allowing the tensioner to snap back suddenly, as this may damage the spring mechanism.
Step 5: Remove the Old Belt
After releasing the tension, remove the serpentine belt from the remaining pulleys.
Inspect the old belt for cracks, glazing, missing ribs, or excessive wear.
Compare the old belt with the new replacement to verify they have the same length, width, and rib pattern.
Using the correct replacement belt ensures proper fit and reliable performance.
Step 6: Inspect the Pulleys
Before installing the new belt, inspect all pulleys for dirt, rust, or damage.
Rotate each pulley by hand to check for smooth movement and unusual noises.
Inspect the automatic belt tensioner for proper operation and verify that all pulleys are properly aligned.
Replacing worn pulleys or a faulty tensioner at the same time can help prevent premature belt wear.
Step 7: Install the New Serpentine Belt
Route the new belt around the pulleys according to the belt routing diagram.
Leave the easiest pulley for last.
Use the breaker bar or serpentine belt tool to rotate the tensioner again.
Slide the belt over the final pulley while holding the tensioner in the released position.
Carefully release the tensioner, allowing it to apply proper tension to the new belt.
Ensure the belt is fully seated in every pulley groove before proceeding.
Step 8: Test the Installation
Reconnect the negative battery terminal if it was disconnected.
Start the engine and observe the new serpentine belt while it operates.
The belt should run smoothly without wobbling, slipping, or making unusual noises.
Check that all accessories, including the alternator, power steering, and air conditioning system, function normally.
Take the vehicle for a short drive and inspect the belt again after shutting off the engine.
How Often Should You Replace a Serpentine Belt?
Most manufacturers recommend replacing the serpentine belt between 60,000 and 100,000 miles, depending on the vehicle and driving conditions.
Inspect the belt during routine maintenance for signs of wear even if it has not reached the recommended replacement interval.
Regular inspections help identify problems before the belt fails unexpectedly.
Common Mistakes to Avoid
Do not install the belt using the wrong routing pattern.
Never force the belt onto a pulley with excessive leverage.
Avoid releasing the tensioner too quickly.
Do not ignore worn pulleys or a weak belt tensioner.
Failing to verify that the belt is seated correctly can cause noise, slipping, or belt damage shortly after installation.
Benefits of Regular Serpentine Belt Replacement
Replacing the serpentine belt on schedule helps maintain reliable operation of critical engine accessories. A new belt reduces the risk of unexpected breakdowns, improves charging system performance, supports proper cooling, and ensures consistent power steering operation.
Routine inspections also help identify worn pulleys, damaged tensioners, and alignment issues before they lead to more expensive repairs.
Conclusion
Learning how to change a serpentine belt is an important vehicle maintenance skill that can help prevent costly roadside breakdowns and improve overall engine reliability. With the proper tools, careful attention to belt routing, and safe installation techniques, replacing a serpentine belt is a task that many vehicle owners can complete at home.
By inspecting the belt regularly and replacing it at the manufacturer’s recommended interval, you can keep your engine accessories operating efficiently and enjoy dependable vehicle performance for years to come.
