
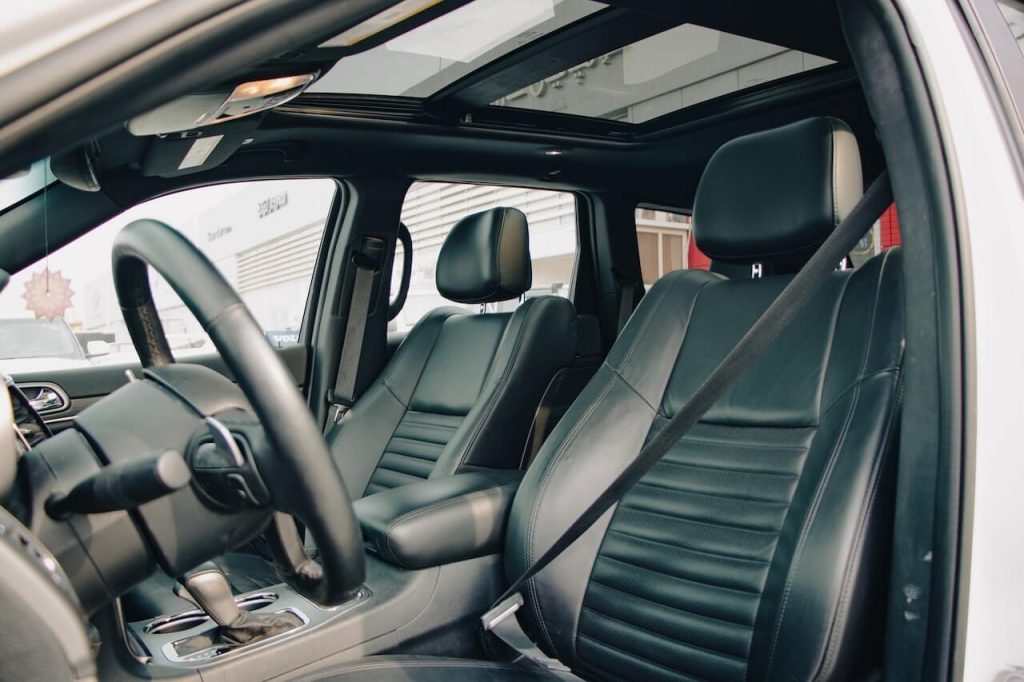
Car seats are an essential part of every vehicle. But over time, they often become worn out from regular use and start to look dull and dated. Reviving an older and drab interior is possible through reupholstering car seats! With a few necessary supplies and basic tools, almost anyone can easily complete this job in their leisure time. So exactly how to reupholster car seats?
Well, the process requires detailed steps but boils down to removing the old fabric, replacing it with new fabric and foam padding, and completing any detailing work. If you want to go beyond the ordinary, let your creativity run wild with colors and patterns! When executed correctly, this project will not only look fantastic but also create a warm and inviting atmosphere through the utilization of top-notch materials. The gratification you’ll experience after completing it is genuinely incomparable!
In this blog post, we’ll be going over how to reupholster car seats. For you to get started on the reupholstering job, it’s essential that you know exactly what materials and tools are required. You’ll also need to understand how to take off the old upholstery, measure and cut new pieces of fabric accordingly, assemble all car seat components with your newly-cut fabric as well as reconnect them appropriately within your vehicle.
By following our tips & tricks here today – there’ll be no stopping you from transforming those outdated car seats into something more modern! Let’s begin this process together now!
Gather Tools Needed for Reupholstering Car Seats
Before commencing any reupholstering project, it’s critical to verify that you possess all the necessary tools and materials for successful completion. To help make sure nothing is forgotten, here’s an overview of some essential items needed for this task.
Materials Needed
Selecting the right fabric for your car’s upholstery is of utmost importance. Make sure to consider its strength and durability when choosing, as it must be able to handle regular usage without deteriorating over time! It should also be easy to clean; stains are inevitable, so choose something that won’t show them easily. Ultimately, pick an accessory that compliments your car’s overall look.
Depending on the extent of repairs needed, you may require additional foam padding for your seat cushions. Foam padding provides extra comfort while also helping preserve the seat’s shape over time. It can even help reduce noise from bumps or vibrations in the road, making for a more peaceful ride!
Tools Needed
In addition to materials, there are several tools you will need to successfully reupholster your car seats.
- A staple gun is essential; this tool allows you to attach the fabric securely and consistently around corners or tight spaces where other methods would be difficult or impossible.
- A good pair of scissors is also necessary; they help ensure that all pieces are cut cleanly and accurately along their edges, so they fit together perfectly when installed.
- Measuring tape to get accurate measurements of each piece of fabric before cutting, you’ll need a measuring tape on hand at all times during installation.
- An awl or punch tool can come in handy as well—it helps create holes in leather or vinyl material so staples can be inserted easily without tearing or fraying edges.
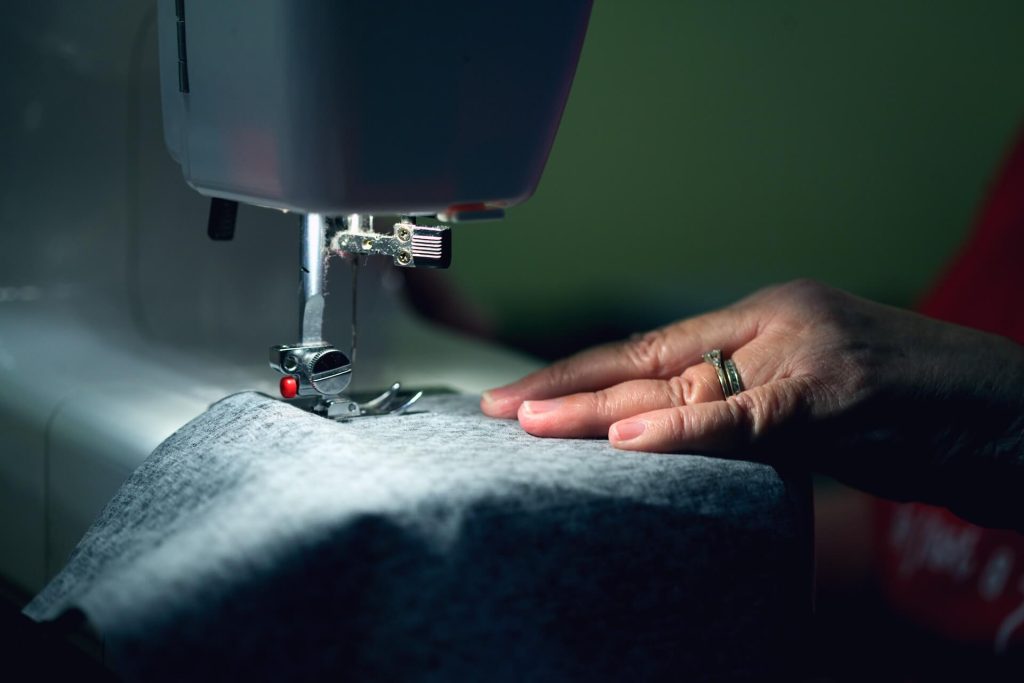
- Finally, an upholstery needle and thread (or an industrial sewing machine) will enable you to stitch together different pieces of fabric, so everything stays secure and neat-looking once installed on the seat itself.

Where to Buy Materials & Tools?
The materials needed for reupholstering can be purchased at most fabric stores or online retailers like Amazon or eBay. If buying online, be sure to read reviews and ask questions about shipping times so that you can ensure your materials arrive on time for the project. As for tools needed for reupholstering, like needles or staple guns—these can be found at most hardware stores or online retailers like Home Depot or Lowe’s. Be sure to read product descriptions carefully so that you purchase the right size and style of tool for your project!
Prepare the Car Seat for Reupholstering
Having collected the items required for your endeavor, it is time to set about readying the car seat for reupholstering.
Removal of Old Upholstery
The first step in preparing your car seat for reupholstering is to remove the old upholstery. If you’re unsure how to do this, consult a professional or automotive upholstery repair guidebook to learn more about the proper technique for removing upholstery from different types of seating surfaces. First, use a utility knife or razor blade to carefully cut away any remaining fabric or foam padding on the seat frame and foam. Once all old fabric has been removed, proceed to the next step.
Cleaning of Seat Frame and Foam
Once all old upholstery has been removed, it’s time to clean the seat frame and foam beneath it. Before beginning this step, ensure you’ve completely removed all debris from the area around the car seat and from inside of it.
Use a vacuum cleaner or compressed air to ensure no dirt or dust remains on either surface before applying any cleaning solution. Be sure to use only mild detergents when cleaning your car seat frame and foam, as harsher solutions could damage them both further down the line.
Once you’ve finished cleaning both surfaces, allow ample time to dry before making any necessary repairs (if needed).
Making Necessary Repairs
If there are any cracks or tears in either your seat frame or foam, now is the time to address them before moving forward with reupholstering your car seat.
Depending on how extensive these damages are will determine what type of repair method is best suited for fixing them—for example, small tears may need only simple patchwork. In contrast, larger ones may require more advanced techniques like welding or gluing pieces together again with solid adhesives and epoxies specifically designed for use on metal frames and foams like those found in car seats.
If you’re not comfortable making these repairs yourself, contact an experienced automotive upholstery specialist who can help get your car seats back into top condition in no time at all!
Also Read: How to Start My Car Without Chip Key
Getting Started with Reupholstering Car Seats
You have now collected all of your supplies and instruments, cleaned (and potentially fixed) the seat frame and foam, and understanding how to reupholster car seats basics – it’s time to begin!
Cut and assemble new upholstery.
The first step is to purchase new fabric for the seat coverings. You will need enough material to cover each seat as well as any armrests or headrests that you want to replace. Measure each area carefully to know how much fabric you will need for each component of the upholstery job. Once you have purchased the material, it’s time to cut it into pieces based on your measurements. Make sure to use sharp scissors so that your cuts are clean and precise.
Sew the pieces together.
Once you have precisely cut out every piece of fabric, it’s time to connect them to an organized and robust upholstery for your vehicle. Although this may appear intimidating if you are not used to a sewing machine, don’t stress! With some dedication and practice, it can be accomplished. If required, get help from an experienced friend or relative who can show you the right way while ensuring all seams are adequately secured before moving on to the next step.
Install into the Vehicle
Once all of your pieces are sewn together, it’s time to install them in the vehicle itself! Carefully remove any existing upholstery from each seat by loosening any screws or bolts and then pulling away gently at all four corners until everything is loose enough for removal. After removing all existing material from the car seats, begin installing the new pieces by starting with one corner at a time and working around until everything is in place correctly. Secure each section with adhesive or tacks as necessary before moving on to another area of fabric for installation.
Secure with adhesive and tacks.
Once all your pieces are installed correctly in their respective positions within your vehicle interior, carefully secure them with adhesive or tacks as needed according to manufacturer instructions (if applicable). Make sure not to over-tighten any screws or bolts as this could cause damage to both your new upholstery job as well as other components within your vehicle interior! Additionally, use caution when applying adhesives or tacks near sensitive surfaces such as dashboard electronics so that no damage occurs during installation.
Finishing Touches of Reupholstering Your Car Seats
Now that all of the hard work is done before you can enjoy the results of your hard work, there are a few finishing touches that must be completed. Trimming any excess fabric or thread, polishing the frame and metal surfaces as needed, and reattaching any accessories or hardware are all critical steps in ensuring that your car looks its best after reupholstery. Now, let’s explore each of these steps in further depth.
Trimming Excess Fabric or Thread
The first step to completing your car’s reupholstered seat is to trim away any excess fabric or thread. This helps ensure that the finished product looks neat and tidy, without loose pieces of material hanging out. It also prevents any sharp edges from being exposed, which could potentially damage clothing and skin. To do this properly, use sharp scissors to cut away any extra material as close to the seams as possible without cutting into them. Alternatively, pinking shears can be used as an extra precaution.
Polishing Frame and Metal Surfaces
Next up on our list is the polishing frame and metal surfaces as needed. Before reassembling, it is always a wise idea to give metal accents like armrests and headrests an inspection. To clean them use a soft cloth with some mild soap solution; take caution not to mar the surface while you are at it. Dry these spots thoroughly after cleansing so they do not become soaked during the later stages of upholstery.
Reattaching Accessories or Hardware
The last step in completing your car’s reupholstered seat is to reattach any accessories or hardware that were removed during disassembly and cleaning prior to upholstery work being done. This includes items such as cup holders, seatbelt buckles, headrests, armrests, etc., which should all be securely fastened back into place using appropriate screws and/or bolts. Make sure nothing is loose or wobbly when you’re done – if it is, then go back over each piece one by one until everything is secure again!
Also Read: How to Save $5000 in 3 Months
Frequently Asked Questions
How Long Does it Take to Reupholster Car Seats?
Reupholstering automobile seating can demand anywhere from a couple of hours to an entire day, contingent on the intricacy of the job. If it’s simply substituting existing fabric with new material and reattaching hardware, then you’re looking at several hours’ worth of work. But if there are more complicated tasks, such as customizing seat shape and/or cutting fabric for precise fitting, this process could become extended much longer. Ultimately though, paying close attention to detail and taking your time in doing so will ensure that you get optimal results!
How can I add patterns or color to my car seats with fabric paint or dye?
Fabric paint or dye can be used to add attractive patterns and colors to the fabric of your car seats. First, prepare the surface by cleaning it with a damp cloth and allowing it to dry completely. Then, use a brush or sponge applicator to apply the paint or dye – working in small sections at a time and covering one area before moving on to the next. Finally, allow the paint or dye to dry entirely prior to reassembly, and you’re done! Keep in mind that if you use fabric dye, then it’s best to test it on a small hidden area of fabric first in order to ensure that it won’t run or bleed when wet.
What kind of fabric should I use?
When determining which material to choose for your seats, you must consider how much wear and tear they will experience. If the installation area will be subject to a great deal of sunlight or moisture, opt for more durable synthetic fabrics like nylon or polyester; these materials are stylish and resistant to fading and staining. Conversely, if luxury is what you seek, then leather or velvet may suit you best! Whatever fabric you prefer, be sure it can withstand constant use for years to come!
Conclusion
Reupholstering your car’s seats is a great way to give them a fresh, new look and prolong their life. By following the steps above, you, too, can have car seats that look like they just rolled off the showroom floor! As always, take your time and use caution when working with sharp tools and fabrics – your safety is essential! With the right supplies, patience, and creativity, you can turn any drab seat into one that looks like it came straight from the dealership. Good luck and happy crafting!
