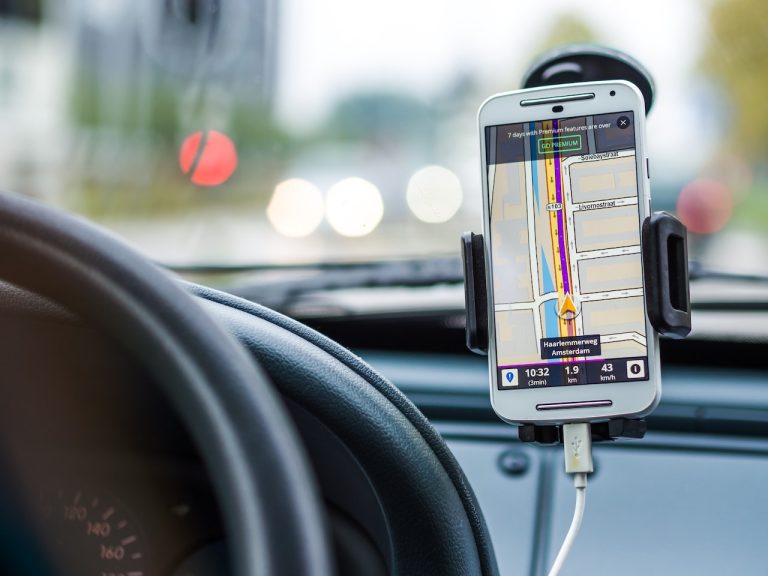
It’s no fun when you go to plug something into your car, and nothing happens. Don’t panic! This guide will provide step-by-step instructions on how to fix the charging port in a car. Whether it was damaged by time or an accident, this guide will help you to diagnose the problem and determine whether it needs to be replaced or repaired.
Sometimes, you can fix your car charging port with proper information. That’s why I am writing this comprehensive guide to help you guys how to fix charging port in car. In this comprehensive guide, we’ll cover all esseintial point to fix charging port in car.
Essential Tools and Materials Needed
Car charging ports are delicate equipment that requires special tools and materials to repair correctly. It is too easy to make mistakes when attempting repairs without the right tools or supplies, which can lead to costly damage down the line.
Here I will cover what tools and materials you need to fix your car’s charging port safely and successfully. Whether the charging port was damaged by time, an accident, or use, it is crucial to be efficient and effective in your repairs. With the right resources and knowledge, fixing a car’s charging port can be quickly done. But for that you should have proper knowledge about how to fix charging port in car.
Basic Tools
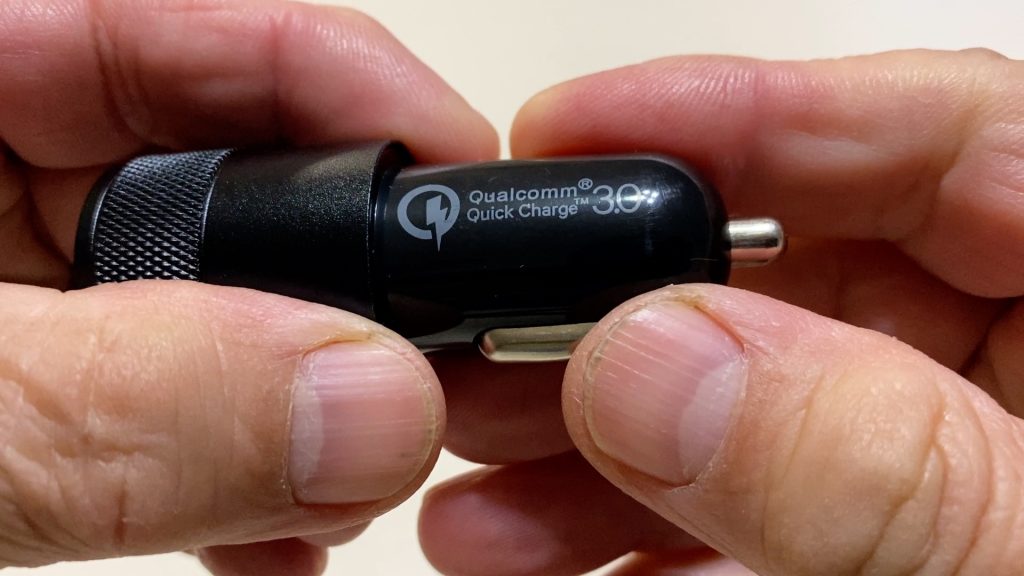
The most basic tools you’ll need are an adjustable wrench, screwdriver set, pliers, wire strippers, electrical tape, and an ohmmeter. Depending on your car type, additional tools may be necessary, such as a ratchet set or speciality sockets. It is also important to note that some parts may require specific types of screws or replacement components depending on the make and model of your vehicle.
Electrical Parts
For repairs involving your car’s electrical system, having extra parts on hand is essential. It includes spare plugs or relays for switches and other electronics and new wires for connecting components. Additionally, you may need additional fuses for any short circuits to avoid further damage if something goes wrong during your repair job.
Cleaning Materials
Since dirt and dust can accumulate over time in any electronic system – especially present inside a car – it is essential to have cleaning materials ready before attempting any repair work. It includes gloves for protection against hazardous chemicals, rubbing alcohol for cleaning off corrosion that has built up over time on components, and lint-free cloths or swabs to remove debris from tight spaces without damaging delicate electronics.
With these items at hand, you can be sure that repairing a car’s charging port will go smoothly and result in a successful outcome!
Also Read: Best Exhaust tip for Deep Sound
Diagnose The Problem

Diagnosing the problem with a car’s charging port can be an intimidating task for even experienced mechanics. Fortunately, with the right tools and knowledge, it is possible to accurately diagnose these problems and get your car up and running again in no time. In this article, we’ll go over some of the steps involved in diagnosing a car’s charging port and how to use them to quickly identify any issues. We’ll also discuss what tools and materials you’ll need to have on hand before beginning repairs. With this information, you’ll be able to confidently tackle any charging port issue that might come your way!
Check Your Fuse Box
The first step in diagnosing your car’s charging port problem is to check the fuse box. A faulty fuse may cause your car’s charging port to malfunction. To check if this is the case, open your fuse box and inspect each fuse individually. Ensure each one looks intact and has no signs of corrosion or damage. If you notice any abnormalities, replace that fuse with a new one of the same type and rating. It should restore normal function. if an old or damaged fuse causes trouble.
Inspect Your Charger Socket
The next step in diagnosing a faulty car charging port is to inspect its socket for any visible damage or debris that may be blocking it from working correctly. Unplug any accessories currently connected and make sure all dust, dirt, and other debris are cleared away from the socket before attempting your inspection further. Pay special attention to signs of wear on the metal prongs inside the socket as well – these can sometimes become bent over time and will prevent proper connection with an accessory plug. If this is what you find, use a pair of needle-nose pliers (or another suitable tool) to straighten out those prongs carefully so they create good contact again when an accessory plug is inserted into them.
Finally, take a close look at all wires leading into and out of your charger socket—are they broken or frayed? If so, these could easily be responsible for your charger problem as well. In this case, you’ll need to have a qualified technician replace those wires for you in order for your car’s charging port system to work again correctly.
Test with another device.
Try testing out your car’s charger with another device that supports USB chargers (such as an iPad). This will help you narrow down whether it is an issue with your device or with the charger itself by ruling out one possibility at least.
Check Connections
Another thing you should do when trying to diagnose the issue with your car’s charging port is to check all of its connections. Make sure that all of the connections are tight and secure, as loose connections can cause problems with power delivery and can prevent the charging port from functioning properly. Additionally, make sure that all wires are connected and that there are no breaks or corrosion on any of them.
Check Battery Life
Finally, it is important to check the battery life of your vehicle when trying to diagnose a potential problem with its charging port. This can easily be done by using a voltmeter or multimeter; if you don’t have one available, most auto parts stores will have one available for purchase or rent. A good battery should read 12 volts; if it reads lower than that, then it may be time for a new battery or an alternator repair/replacement job.
Removing a Damaged Car Charging Port (If Necessary)
When you find yourself with a damaged car charging port, it can be hard to know what to do next. To help make this process easier, here is an overview of how to safely remove a damaged charging port and replace it with a new one:
- Disconnect any cables or wires connected to the port and carefully unscrew any screws securing the port in place.
- Carefully inspect the port for any visible damage or corrosion. Use a multimeter to test for electrical continuity between pins in the charging port and verify that it is not shorting out.
- Once disconnected, you can install your new charging port following the instructions included with the replacement part. Make sure all connections are secure before attempting to use the newly installed charging port.
- Finally, test out your newly fixed charging port before driving away!
Removing and replacing a damaged car charging port may seem intimidating at first, but by taking the time to follow these steps carefully, you can save yourself time, money and hassle down the line!
Frequently Asked Questions
How much will it cost to have the charging port repaired or replaced?
The cost of repairing or replacing a charging port will vary depending on the make and model of your car, as well as the type of replacement part you need. Generally speaking, you can expect to pay anywhere from $50 to $250 for a quality replacement part, plus labour costs associated with installation. It’s always important to do your research and look for reputable repair shops that use certified parts for any repairs made.
How do I know if my car’s charging port is damaged?
To diagnose a potential problem with your car’s charging port, first unplug any accessories connected and make sure all dust, dirt, and debris are cleared away from the socket. Pay special attention to signs of wear on the metal prongs inside the socket as well – these can sometimes become bent over time and will prevent proper connection with an accessory plug. Additionally, check all wires leading into and out of the charger socket for any breaks or fraying—these could be responsible for your charger problem. Finally, use a voltmeter or multimeter to test the battery life; if it reads lower than 12 volts, then it may be time for a new battery or alternator repair/replacement job.
What should I do if the charging port is still not working after replacing it?
If your newly replaced charging port is still not working, then there may be an issue with the wiring outside of the port itself. It’s always a good idea to double-check all wires leading into and out of the charger socket for any breaks or fraying, as these can be responsible for your charger problem. Additionally, make sure all connections are properly secured, and the port is sitting flush against the socket. If you’re still having trouble, it may be a good idea to bring your car to a qualified technician for diagnosis and repair.
How long will it take to fix the problem?
The amount of time it will take to repair a damaged car charging port will vary depending on the complexity of the issue and any other repairs that may need to be made. On average, it should take between one and three hours for a professional mechanic to replace a defective charging port.
Conclusion
Overall, fixing a damaged car charging port is not as difficult as it may seem. By familiarizing yourself with the basics of how to safely remove and replace the port, you can save yourself time, money, and hassle in the long run. If you’re still having trouble diagnosing or repairing your car’s charging port issue, then it’s best to consult a qualified technician for diagnosis and repair. Good luck!
